Showing posts with label binding. Show all posts

Wednesday, June 8, 2011

Let's get Ziggy With It

It's so hot outside that we actually broke a few records yesterday, but I am still NOT complaining.  Not that I need an excuse, but I do feel the heat has given me one to stay inside and finish my Ziggy Quilt by Cluck Cluck Sew:  
The last post I showed you how to use the walking foot to "Stitch in the Ditch". Here is a close up of when it worked: 
Can't see any stitches can you?  And here's a picture of when it didn't quite work: 
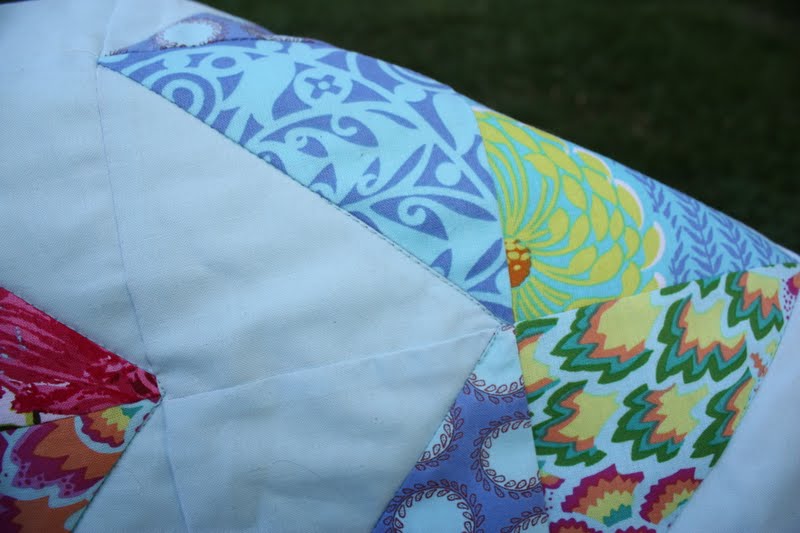
See those stitches sitting on top of the printed fabric?  Sometimes that happens and I don't stress about it.  I'll drive myself crazy if I do that.
  
One of the things I like to do is stitch the binding on entirely by machine. (I'm very open about the fact that I do very little hand-sewing.) Normally the binding is stitched to the front of the quilt and then fold it to the back.  But because I use my machine I stitch the binding to the back and bring it to the front.  This way I can see where I'm stitching, making sure that everything looks nice.  Something that would be hard to do if I were sewing it from the back.   
It's hard to see in this picture, but I used a zig-zag stitch to stitch the binding down. I will often use a decorative stitch because:  1. I think it looks better and 2. It's a lot easier for me to do then a straight stitch (remember that Stitch in the Ditch gaff above?)
Here's a shot of the back.   
So with this post and the last we covered the Walking Foot, Stitch in the Ditch and Binding.  Who's ready to make this quilt?  Stay tuned because on Friday I'll be giving away enough 5" squares to make this quilt.  Till then try to stay cool!   


Thursday, May 5, 2011

How to Make Bias Binding

We get quite a few people in the store looking for bias binding.  We used to carry it, but we always seemed to stock the wrong colors and I would end up either giving a quick demonstration on how to make your own binding, using the method below, or referring them to the 'big box' store that everyone seems to dread going to.

Making your own bias binding is not difficult and the benefits far outweigh the time it takes to make it.  It's less expensive AND there's no matching colors and settling for 'close enough' when what you really want is something with some 'cute' factor in it.

There are many ways to make bias binding, but this way seemed to be the easiest for me.  So without further ado, here is how I make bias binding:

Start with a piece of fabric, I used a fat quarter for demonstration purposes.

Lay your fabric out on your work surface.  

Take the upper left corner (A) and fold it down till it is even with bottom edge (B)

Now take the bottom left corner (C) and fold it up towards the top edge (D)

C & D will now become E

Take the left corner (F) to meet the top (E)

Fold down any extra fabric (wrapping it around the folded piece if necessary) till you have  a nice neat rectangle. 

View from the folded end.  All folds should line up one on top of the other.

You are now going to square up the fabric using your rotary cutter and ruler.   

Being sure to use your ruler so that the  cut will be on the true bias.

Once everything is squared up cut off just the folds. (about 1/4")

Now using your ruler line up your bias strips.  


I like mine 2 1/2" wide so this is were I'll make all my cuts.

I'll cut down the full length of fabric - I can always use the extra bias strips. 

Now we sew these all together.  I like to sew mine on the bias.  I've marked my stitch line.

Sometimes you luck out and the strips will line up.  Here I'll sew in  1/4".  Note the corners extending 1/4".  You'll want to be sure to have this so that when you open the strip everything lines up perfect. 

All the strips sewn together. 

Press the seam to one side. 

Make the binding by folding the strip in half lengthwise. 

When you sew your strips on the bias, you avoid the seam stacking, which reduces the bulk when sewing. 


You can now add your binding to any project.