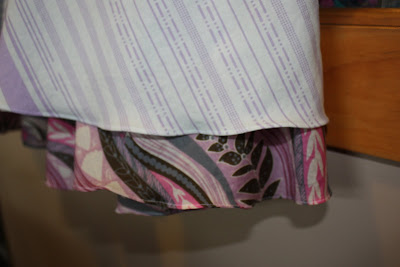
A couple of days ago I was using the Rolled Hemmed foot on my machine to hem my circle skirt and thought that it would be a great tutorial for everyone.
This is what a rolled hemmed foot looks like. Not every machine comes with one, but they are pretty common and finding one to fit your machine should not be a problem.
Notice the little 'tunnel' in the middle, that's the work-horse of this little gadget.
The fabric actually gets fed around and into the tunnel which then creates a nice tight rolled hem.
Getting started is the hardest part, I start with the foot up, I loop my fabric around the 'tunnel' and manually feed the fabric through a little bit till it starts to create a rolled hem.
I then lower the presser foot and if the fabric managed to stay inside the tunnel I lower the needle into the fabric.
Once you have that mastered the rest it easy, just go slow, let the machine do the work and concentrate on keeping your fabric lined up where it's suppose to be.
Notice in this picture how I have the edge of the fabric even with the left side of the inside of the presser foot.
Any more than this and you're going to get too much fabric to 'tuck' into the fold. Any less and it won't roll.
Done right the hem will have a nice neat rolled hem.
Practice using the rolled hemmed foot on a scrap piece of fabric a few times before tackling a garment. Once you are comfortable roll the hem of a some cloth napkins and before you know it you'll be hemming your own circle skirt.


Omg! I totally forgot about this foot! I remember my Nana using it. I so need to get a rolled hem foot. It will save me frustration when it comes to slippery fabrc. Thanks!
ReplyDeleteInterested. I wonder if one's available for my old machine!
ReplyDelete